
This technique has been known since Windows Vista and is still working well. Some OEM Windows and laptops that are licensed by Microsoft have a Recovery Partition. We can not buy a license, so this method will make it easier to create a recovery partition. What are the benefits of having a recovery partition?
1. You can recover without Windows disc when Windows crashes due to an error
2. I want to install a new Windows but I can not find the Windows disc
No problem with not installing Windows
3. You do not need a CD or DVD drive to install Windows (although some USB BIOS does not support USB boot, although it may be able to boot from USB, it may need to be networked due to technical issues).
4. Windows disc No need to worry about a bad CD or DVD drive
5. There are a number of benefits, such as not having to worry about Windows discs not being readily available.
So let’s get started.
Step-1. : Creating a Recovery Partition on Hard Disk
For the first time in Windows 10, right-click the Start Menu from the menu that appears
Click Disk Management.
If Windows is not Windows 10, press Win + R to open the Run box.
In the Run box that appears, type diskmgmt.msc and press Enter, or OK.
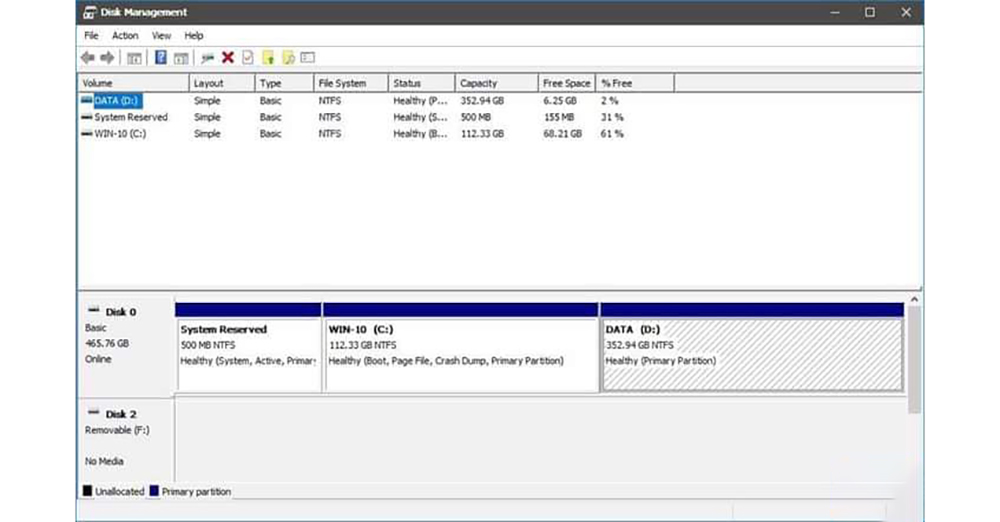
When Disk Management appears, select Partition C: as shown in Figure 04.
Right-click on the selected partition and select Shrink Volume in the context menu.
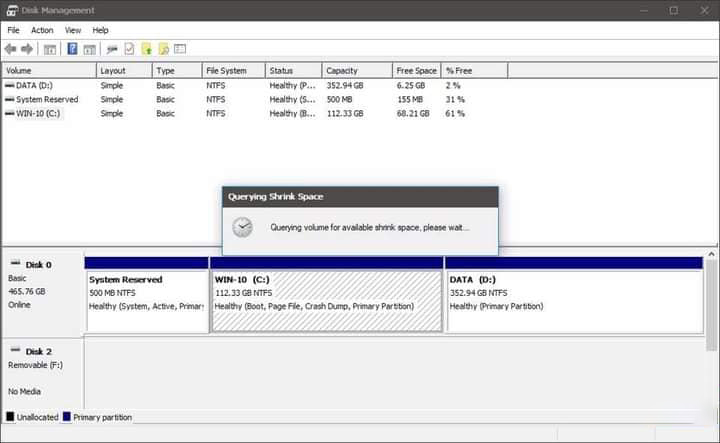
Querying will be done to shrink space. Wait a moment.
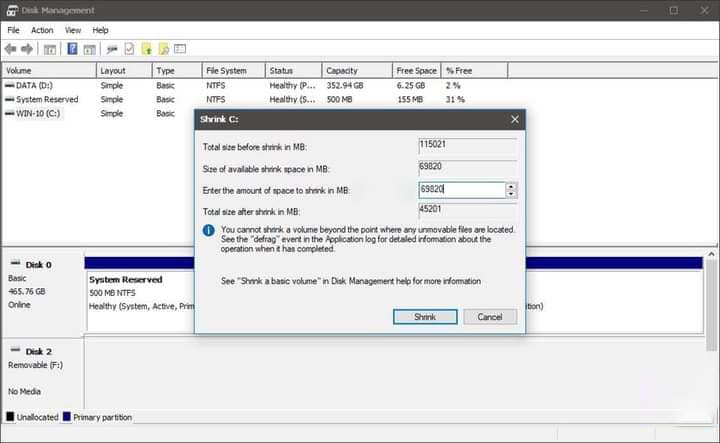
When it appears, the Enter the amount of space to shrink in MB: box shows the amount of space to shrink.
You will not shrink all the space, so change it to 4820 as shown in Figure 08 and click Shrink.
This will add an Unallocated Partition.
Click New Simple Volume as shown in Figure 10 to access the new partition.
Then click Next.
Click Next again.
Set the Drive Letter to E: and click Next
Set the partition file system to NTFS by default and click Next again.
When it appears, it is the last step, so click Finish.
You will get New Volume (E :).
Step-2. Editing Windows Setup Files
Now that you have a new partition called New Volume, you will need to insert the Windows Setup Files, so right-click the Windows Setup.iso file and select 7-Zip. Then open the archive.
Click Extract from the Toolbar menu to extract.
Select the E: where you want to extract it and click OK.
Click OK when it appears again.
This will extract the files under E:
Step-3. Boot Menu Entry.
When you have finished extracting the files, open Easy BCD 2.3 on your desktop.
When the Easy BCD appears, click the Add New Entry button with the arrow.
Under Add New Entry, go to the WinPE tab.
When you get to the WinPE tab, enter Win Recovery in the Name field.
When it appears, go to E: \ Sources, which you extracted earlier, select the boot.wim file and click Open.
If the path E: \ sources \ boot.wim appears, click the Add Entry button. Win Recovery was successfully added to the boot menu below! If so, that’s fine.
To make sure, click the Edit Boot Menu and you will see a menu called Win Recovery.
Now you have successfully created a Windows Recovery Partition. The next time Windows restarts, two boot menus will appear, select Win
Recovery, boot up and restart Windows. You can now perform Windows System Repairs. If you want to hide the New Volume partition, you can turn on Disk Management and hide the Drive Latter to hide the partition. One thing to keep in mind is that if you have created a user account password on your machine, you can easily reset the login password if you have created a recovery partition this way.
If you want to delete the created partition and restore it to its original state, you can right-click on Partition C: in Partition and delete it by right-clicking on Partition C :. Now you know how to create a Windows Recovery Partition.